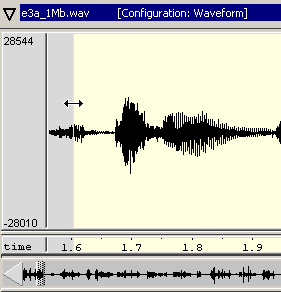
The standard display audio and phonetic analysis tools offer of sound file data ist that of a waveform. Below you can see an example of a waveform display in WaveSurfer:

A waveform is a display of the variations in pressure (y-axis; ordinate), plotted as a function of time (x-axis; abscissa). It can provide us with information about the relative intensity of individual sounds in a recording, as well as giving clues for pauses or the closure phases of plosives. The latter are indicated by the almost complete absence of a signal. Absolute silence, however, is fairly unlikely for most recordings because we almost always have some background noise. For a slightly more skilled reader, waveforms can also provide information about periodicity within the signal, which indicates voicing. The waveform view in most programs can also be ‘manipulated’ by zooming in on particular portions of the signal, which makes it easier to identify specific features.
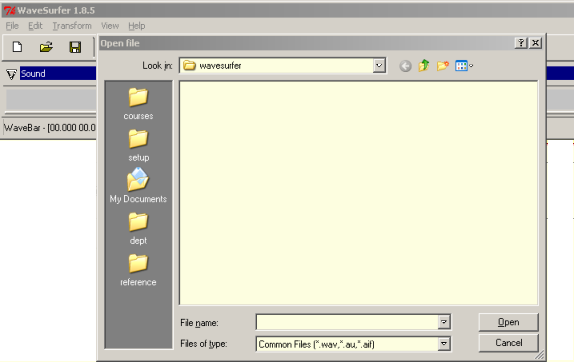
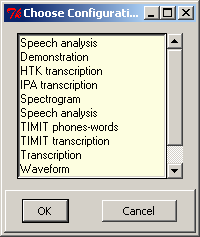
Let’s practise using the waveform view a little:


 in order to play back your selection.

When you’ve finished going through all the steps above, just take a brief look at all the remaining menu options to familiarise yourself with some of the other capabilities of WaveSurfer, but don’t worry, you’re not expected to understand all of them.